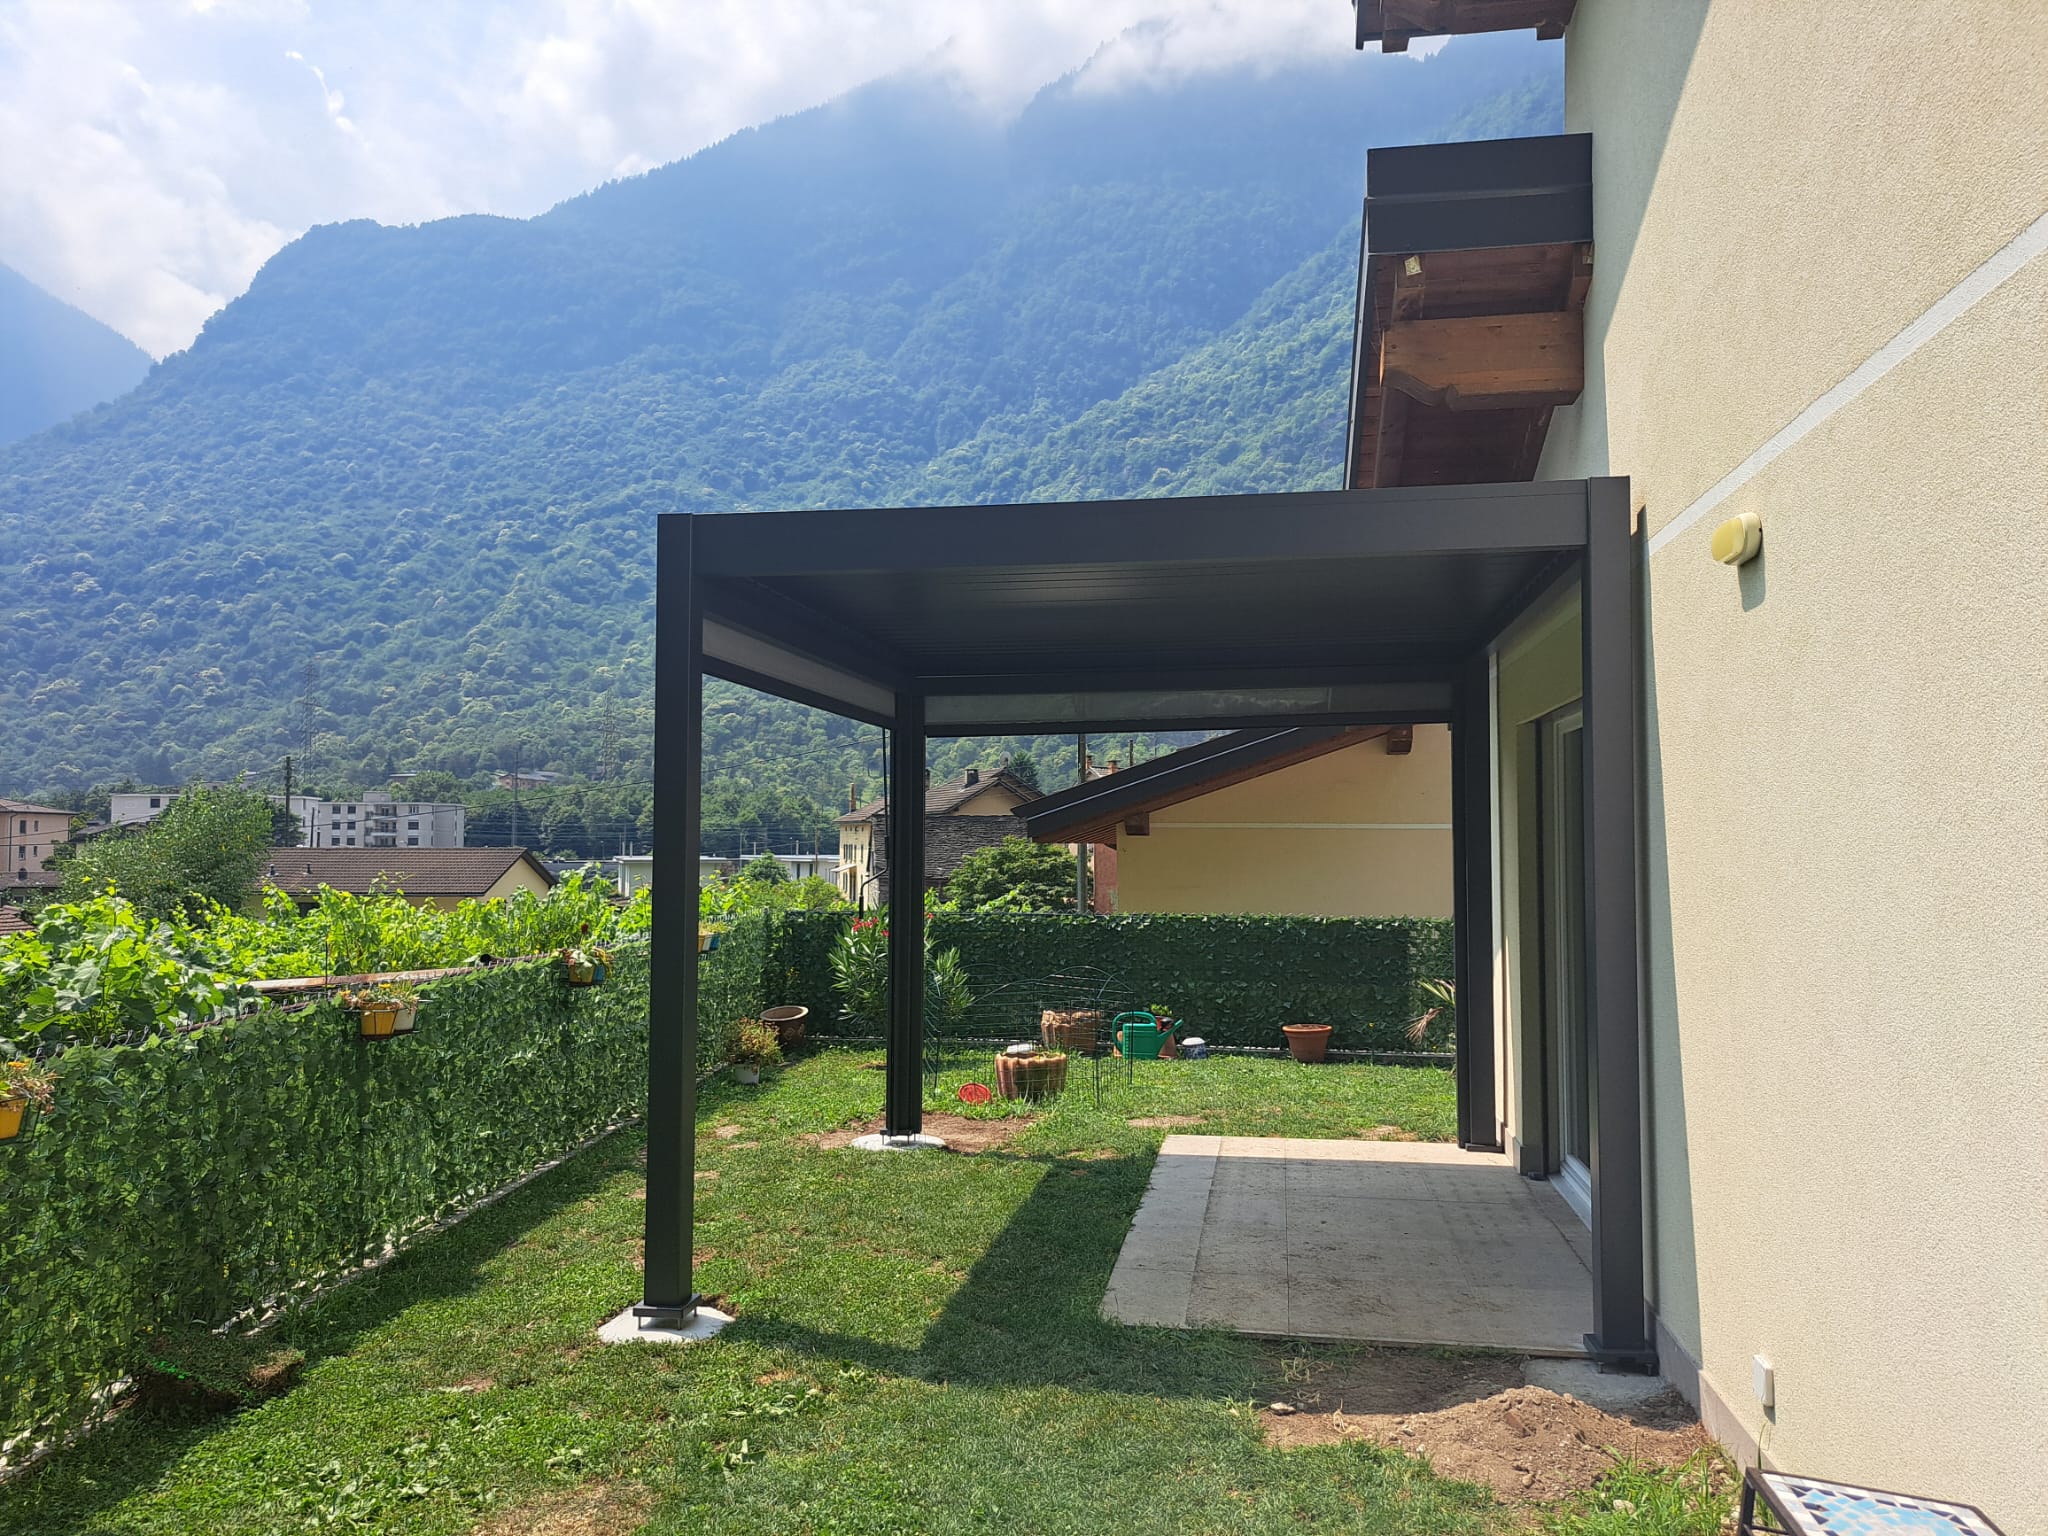




Stable as the Matterhorn: The perfect pergola foundation in Switzerland
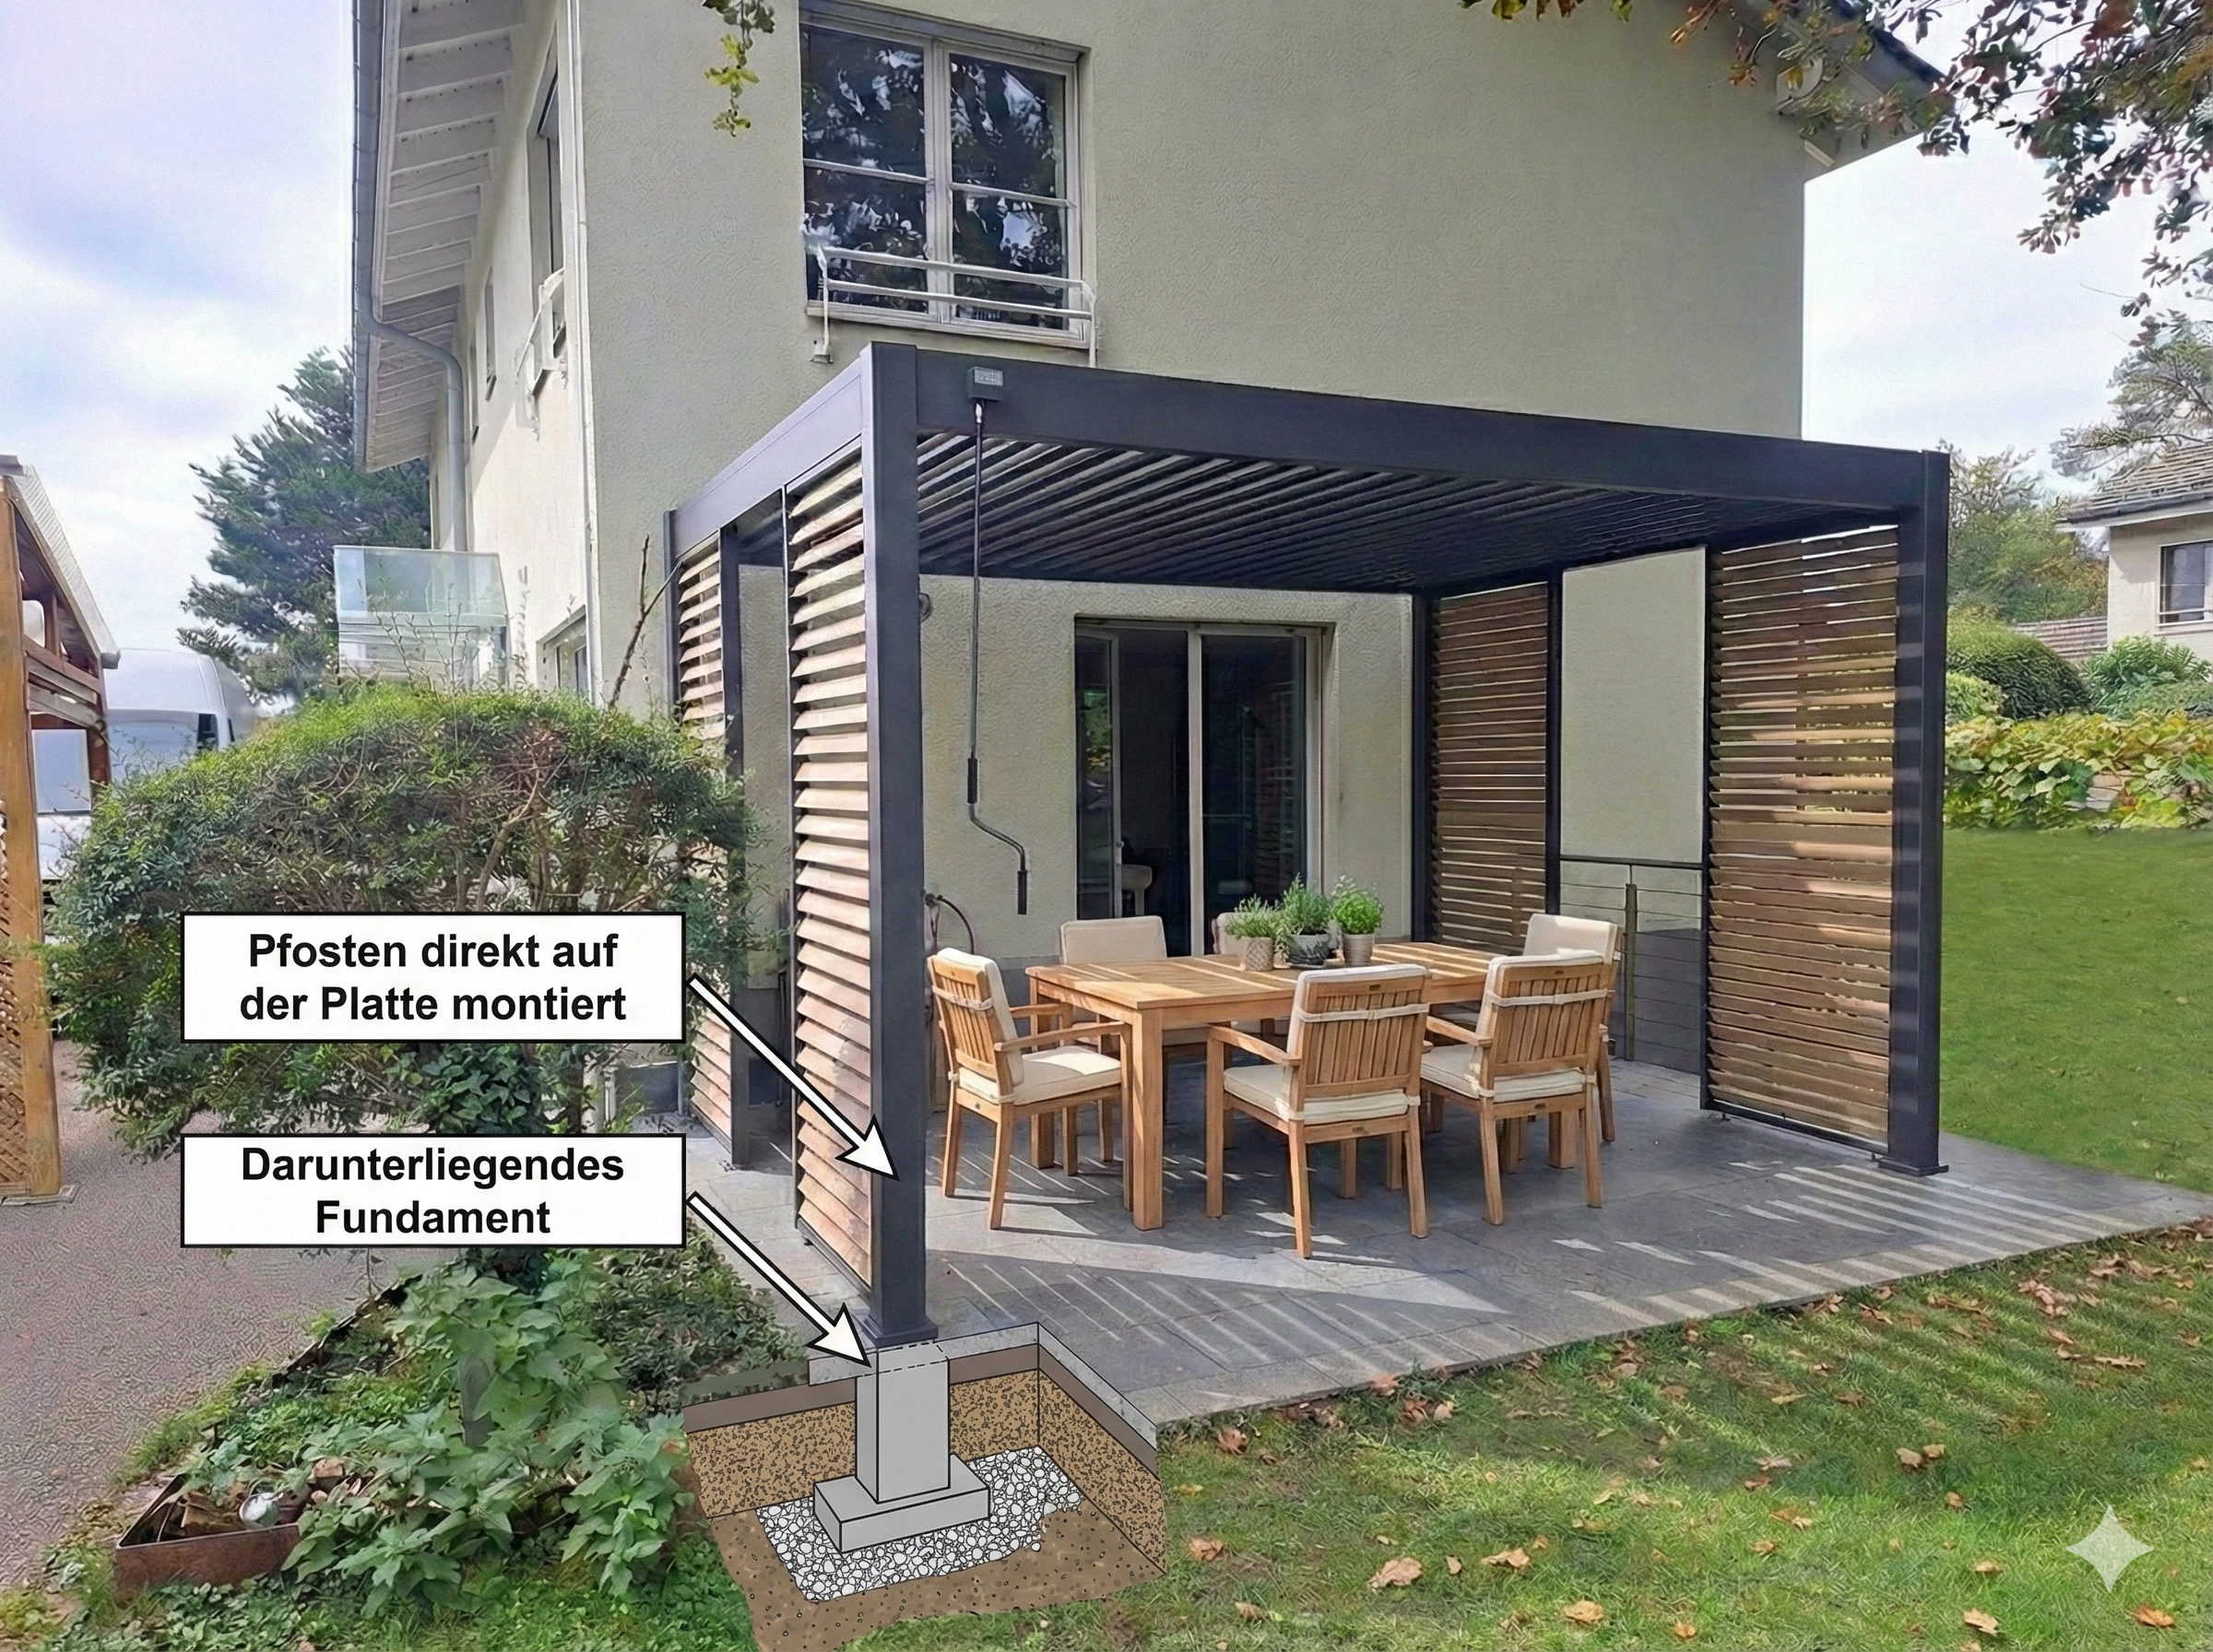
Pergola Foundation in Switzerland: Stable, frost-free, and invisible under garden slabs
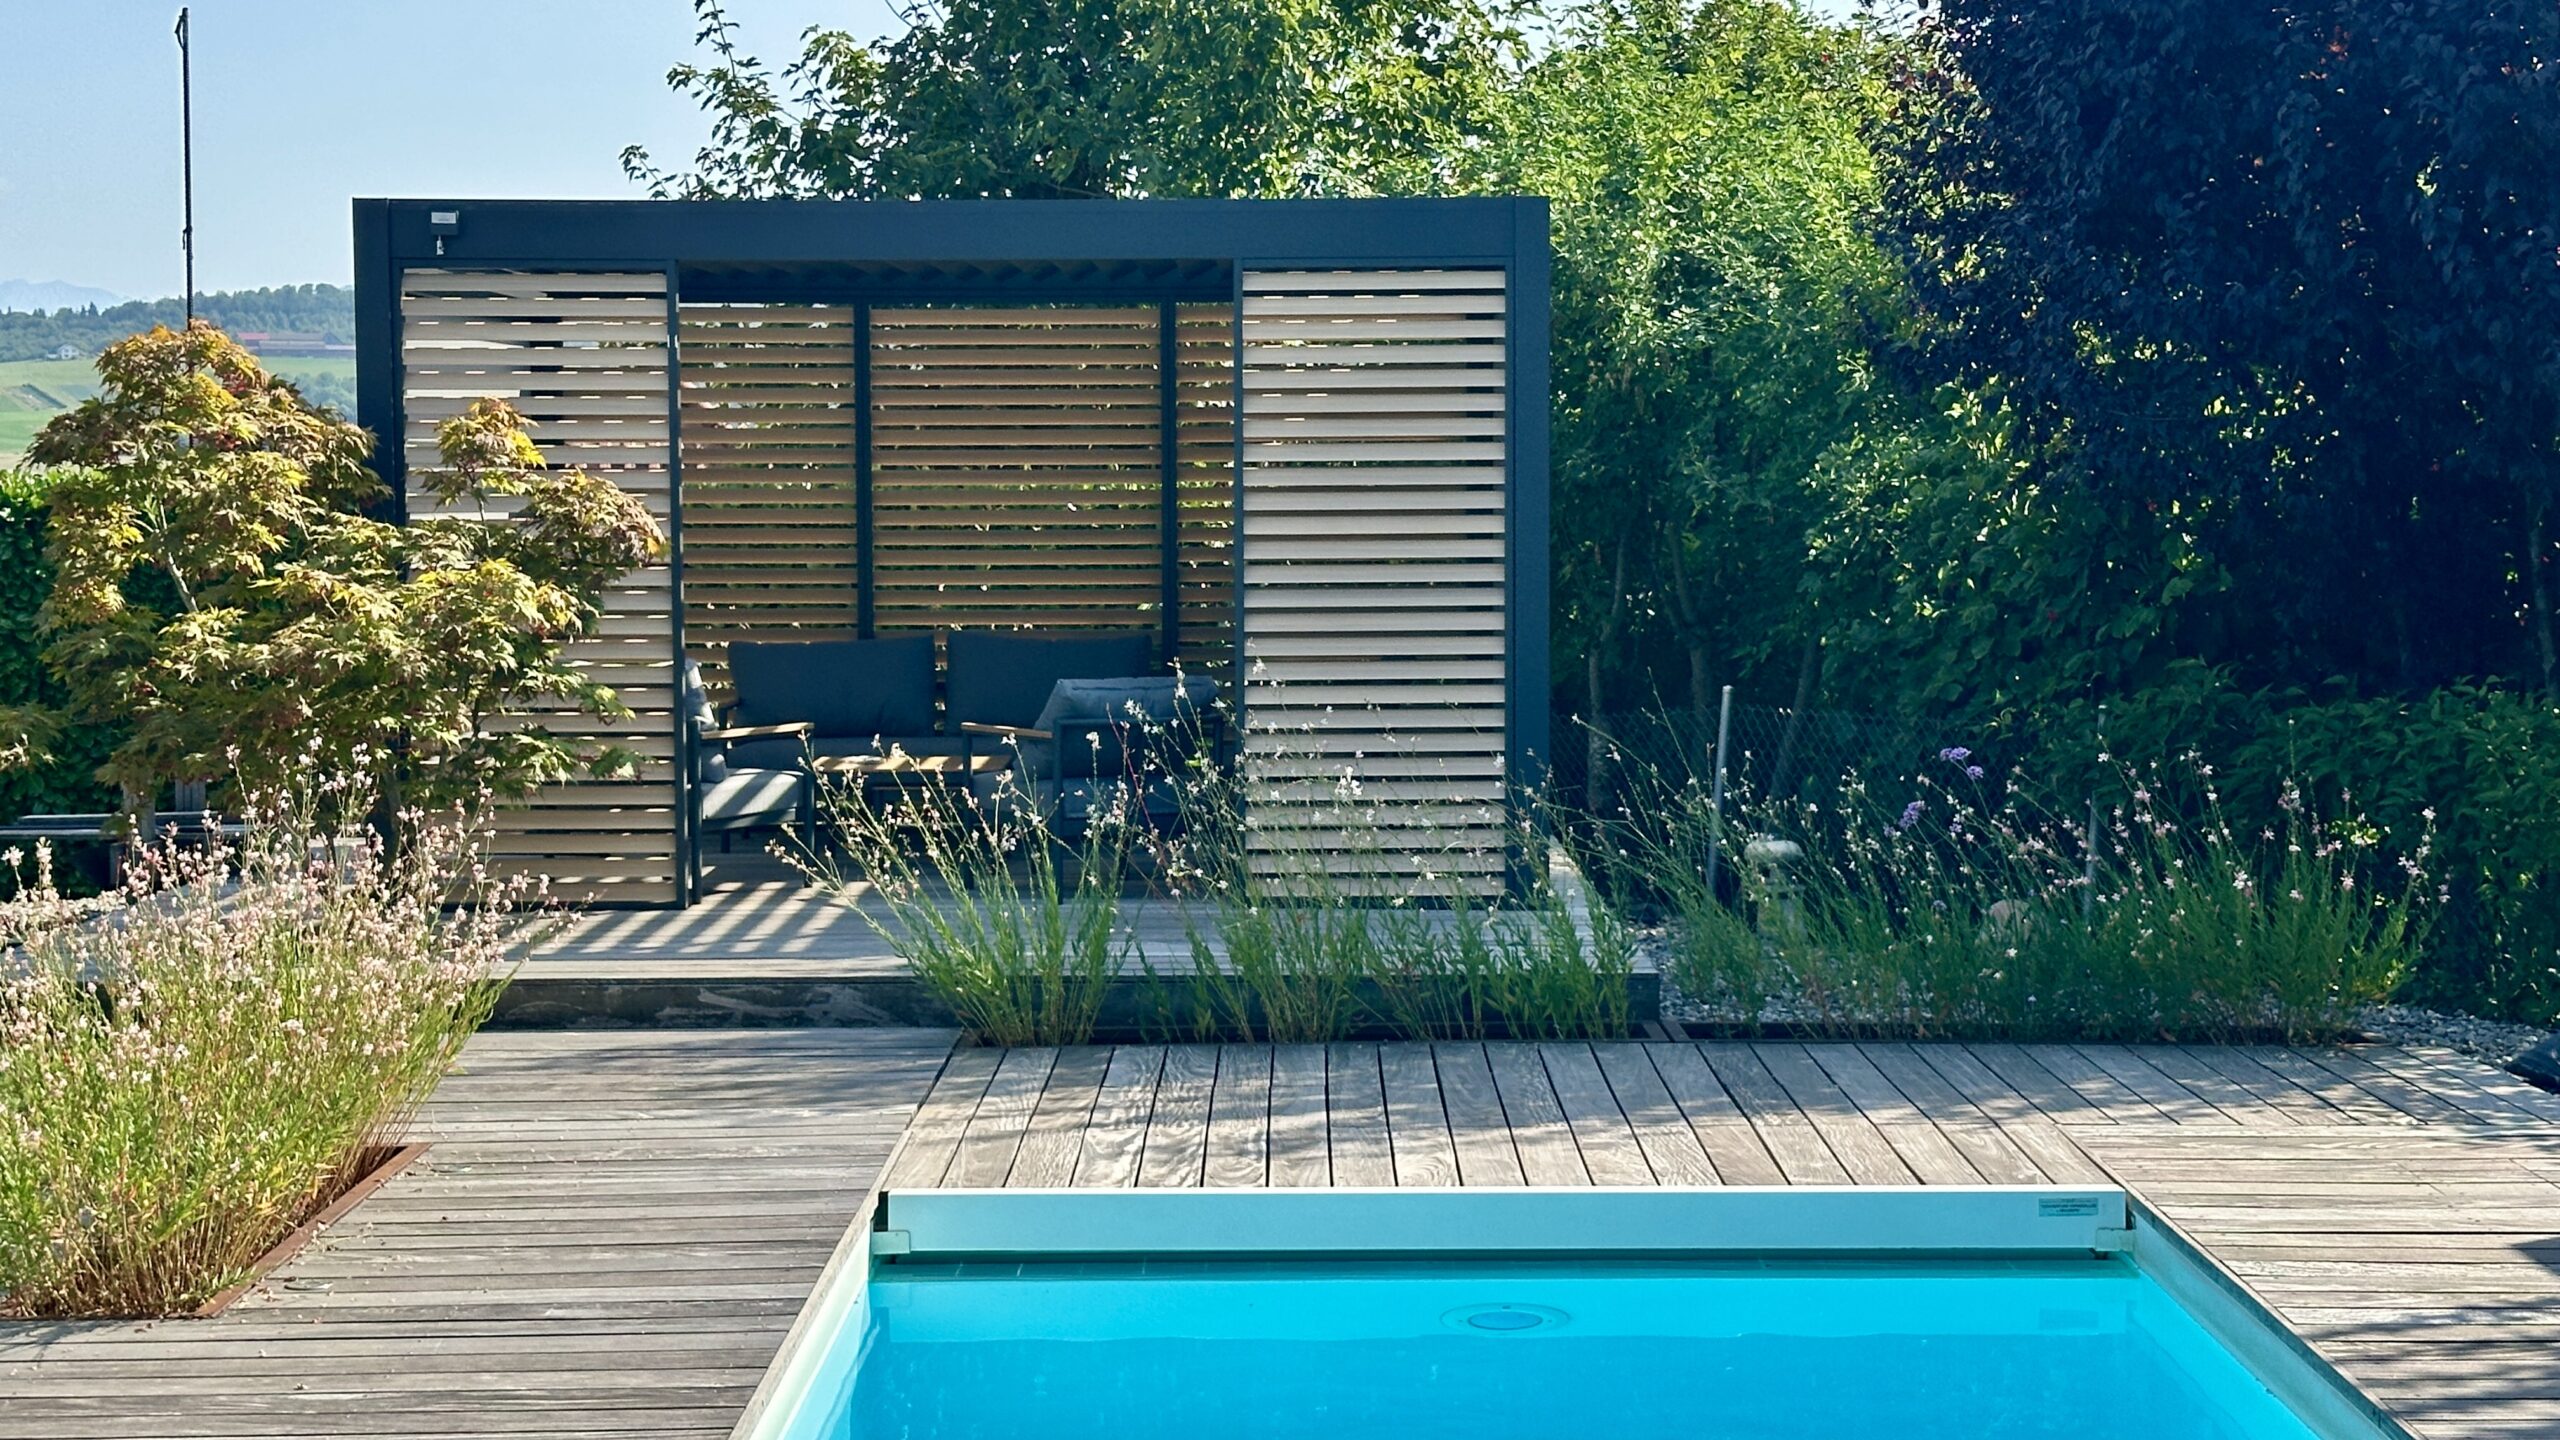
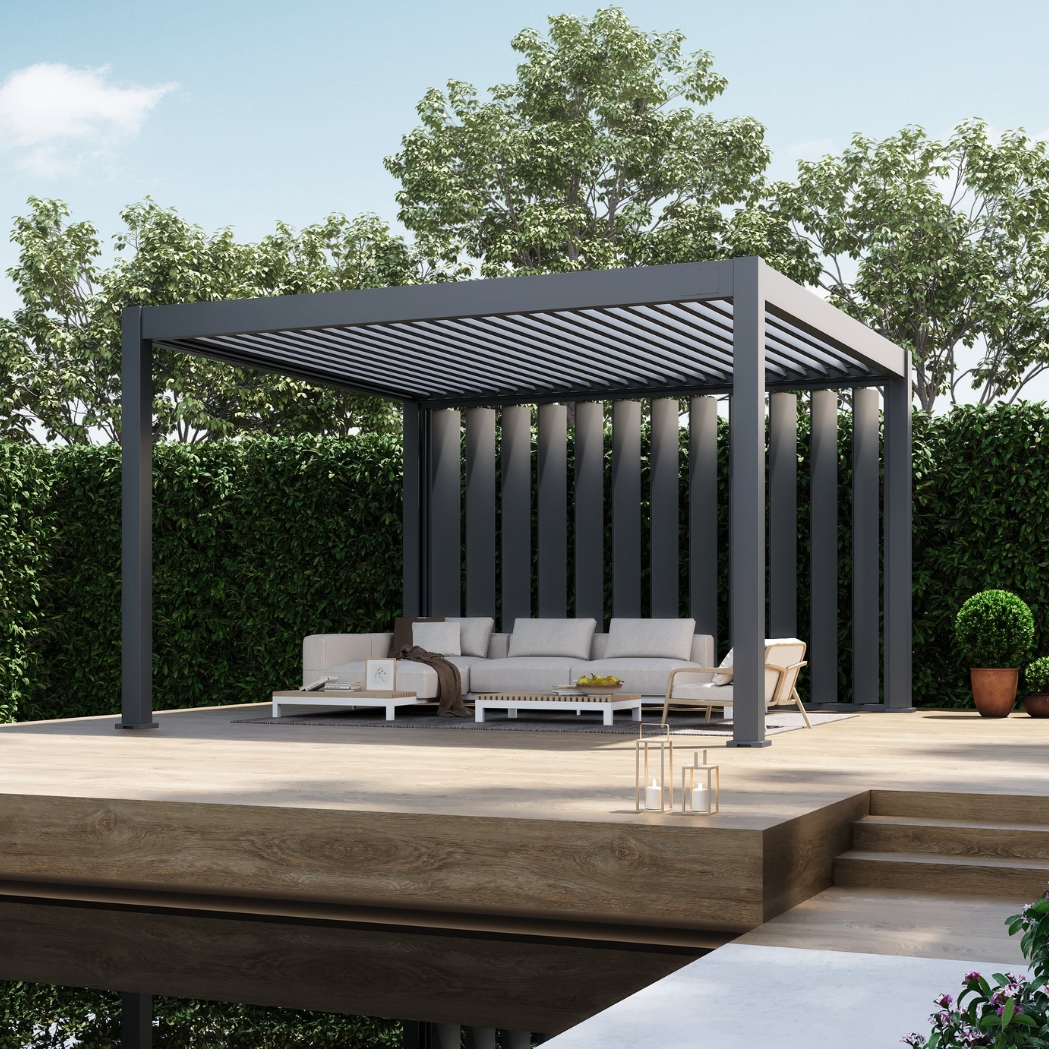
A pergola is the highlight of any garden—whether it's by Lake Zurich, in the Bernese Oberland, or in the Rhine Valley. However, the biggest challenge for gardeners isn't assembling the wooden or aluminum frame, but anchoring it. Who wants ugly concrete blocks in their line of sight?
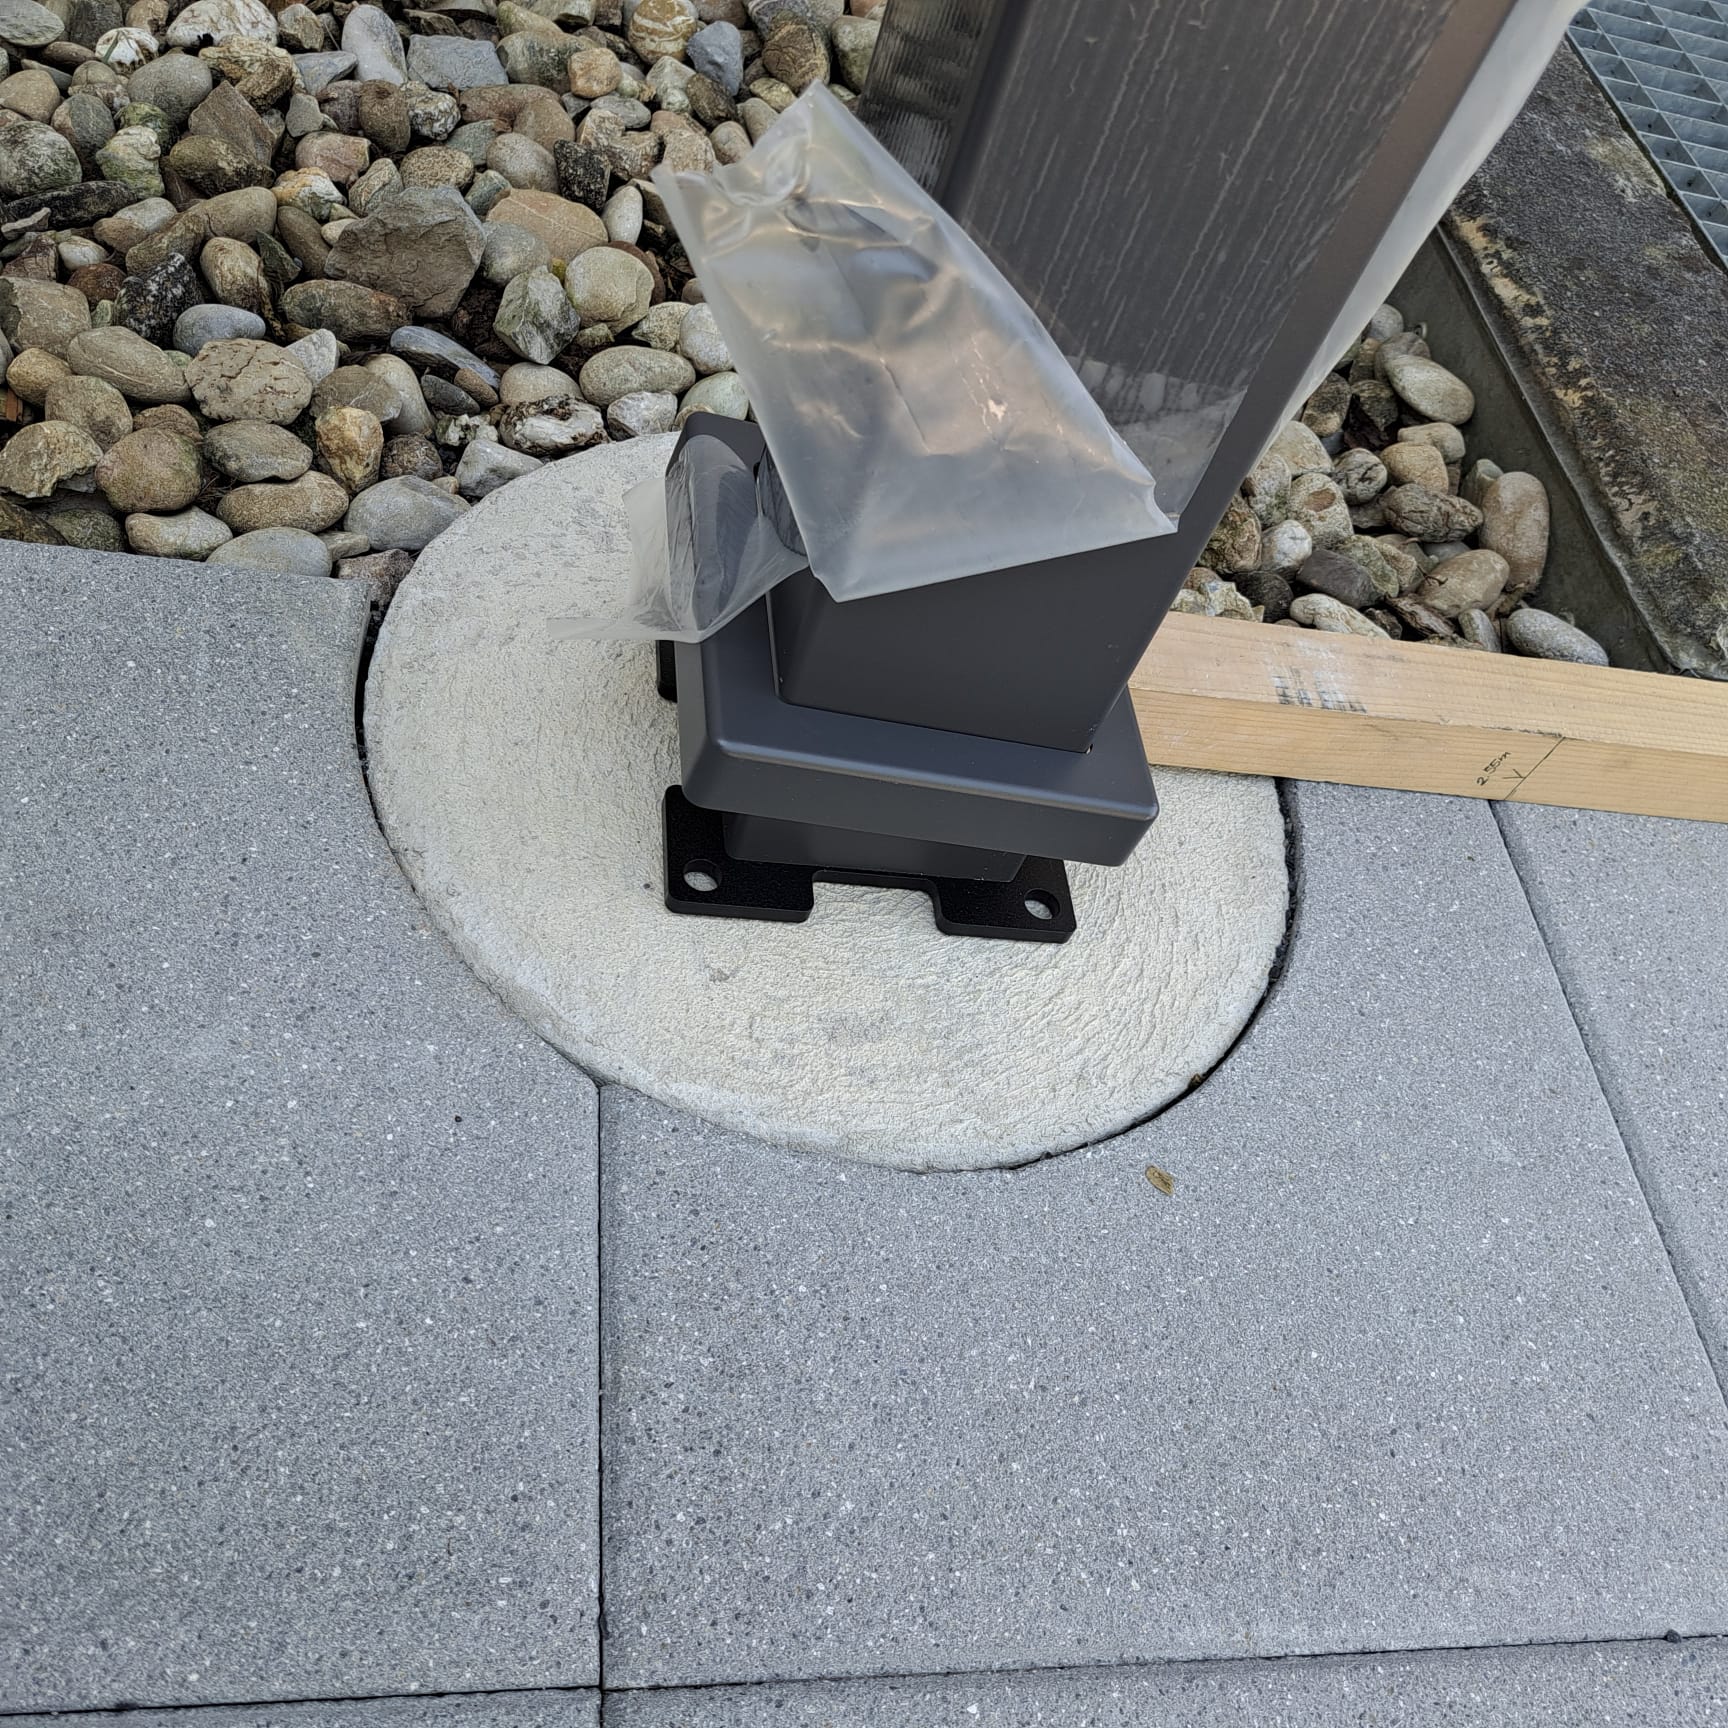
In this guide, you will learn how to Invisible professional foundation which you create by gluing the patio slabs directly onto the foundation and securely anchoring the pergola with threaded rods.
Why 60 cm depth is mandatory in Switzerland
Many DIYers shy away from the effort and ask, „Isn't 40 cm enough?“ The clear answer for Swiss soil conditions: No.
-
The Frost Line In Switzerland, a foundation must extend into the frost-free zone (usually 60 cm, up to 80 cm at higher altitudes). Water under the foundation freezes in winter, expands, and pushes the concrete upwards.
-
The episode Your expensive garden slabs are cracking, and the pergola is leaning.
-
The solution: Use a Earth auger (which can be rented from almost any construction equipment rental service). This allows for precise drilling of holes for point foundations in just a few minutes.
2. The „Invisible“ Method: Gluing tiles directly to the foundation
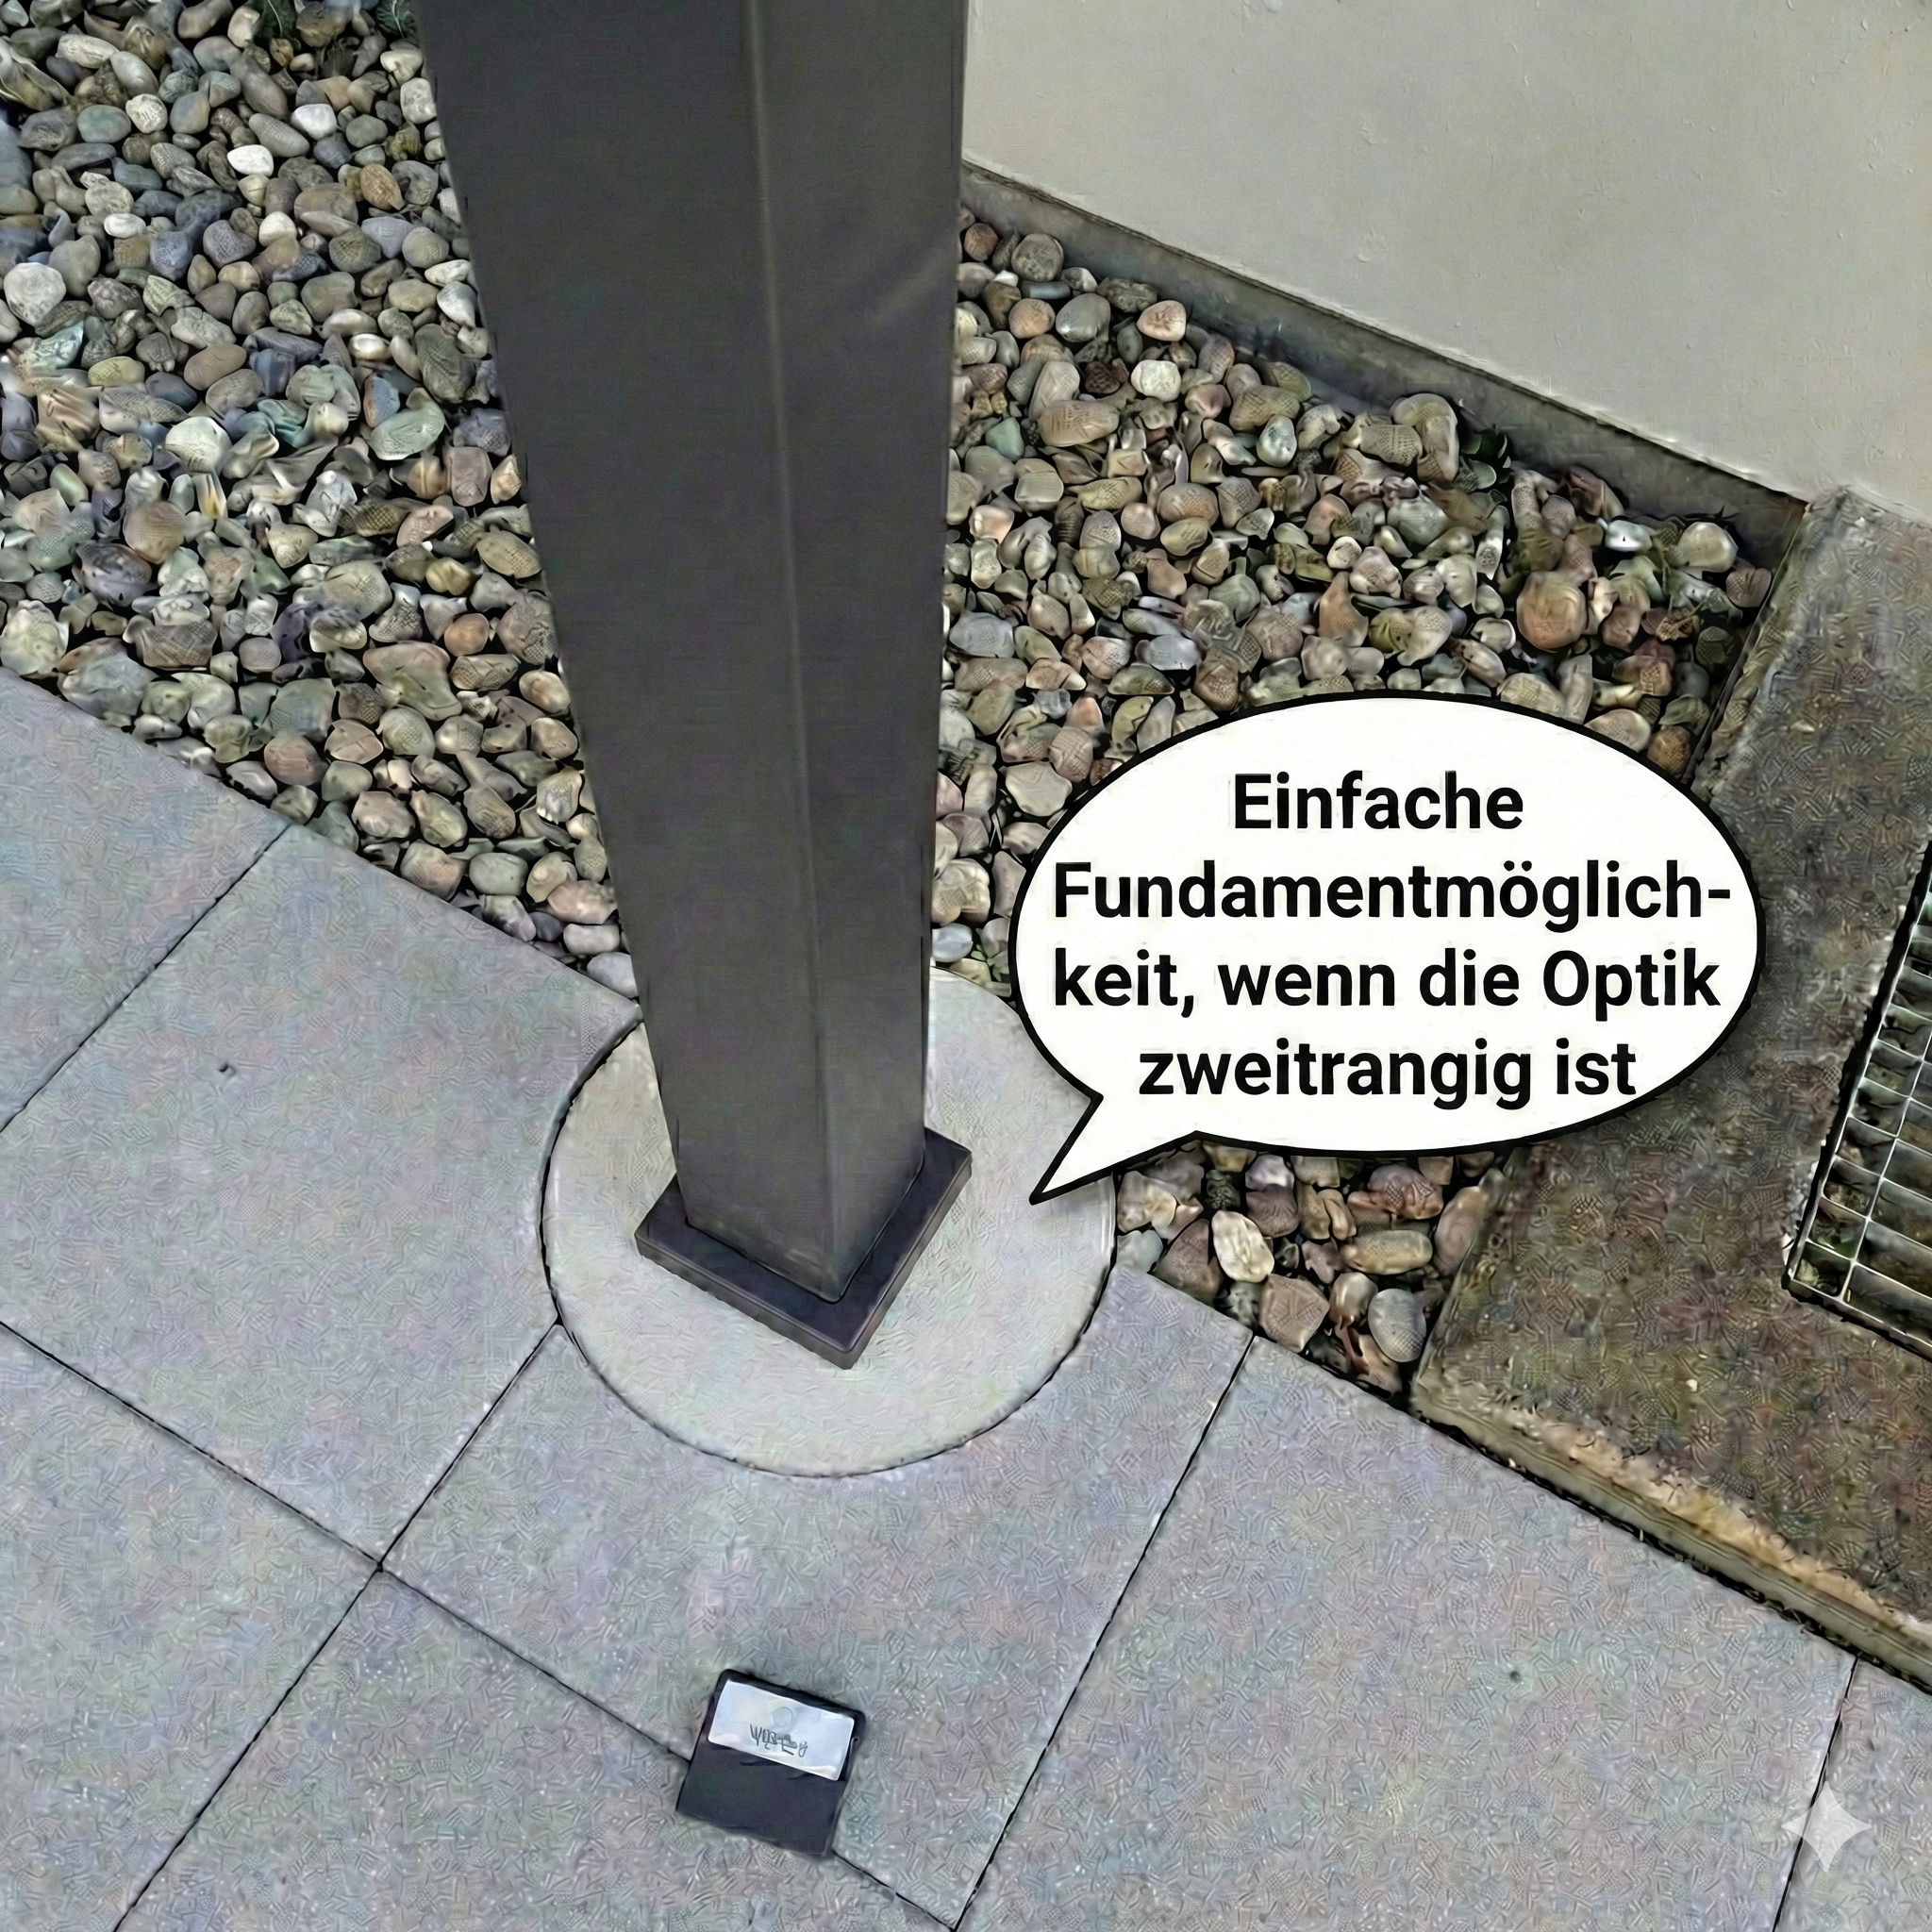
For the pergola feet through the plate. The masterstroke: You glue the panel directly onto the concrete.
Why glue?
If the slab is only loosely embedded in the aggregate, drilling will create an unstable void. Bonding makes the slab part of the foundation. This ensures:
-
Maximum stability against wind load (Bise).
-
No „sagging“ of the slabs under the weight of the pergola.
-
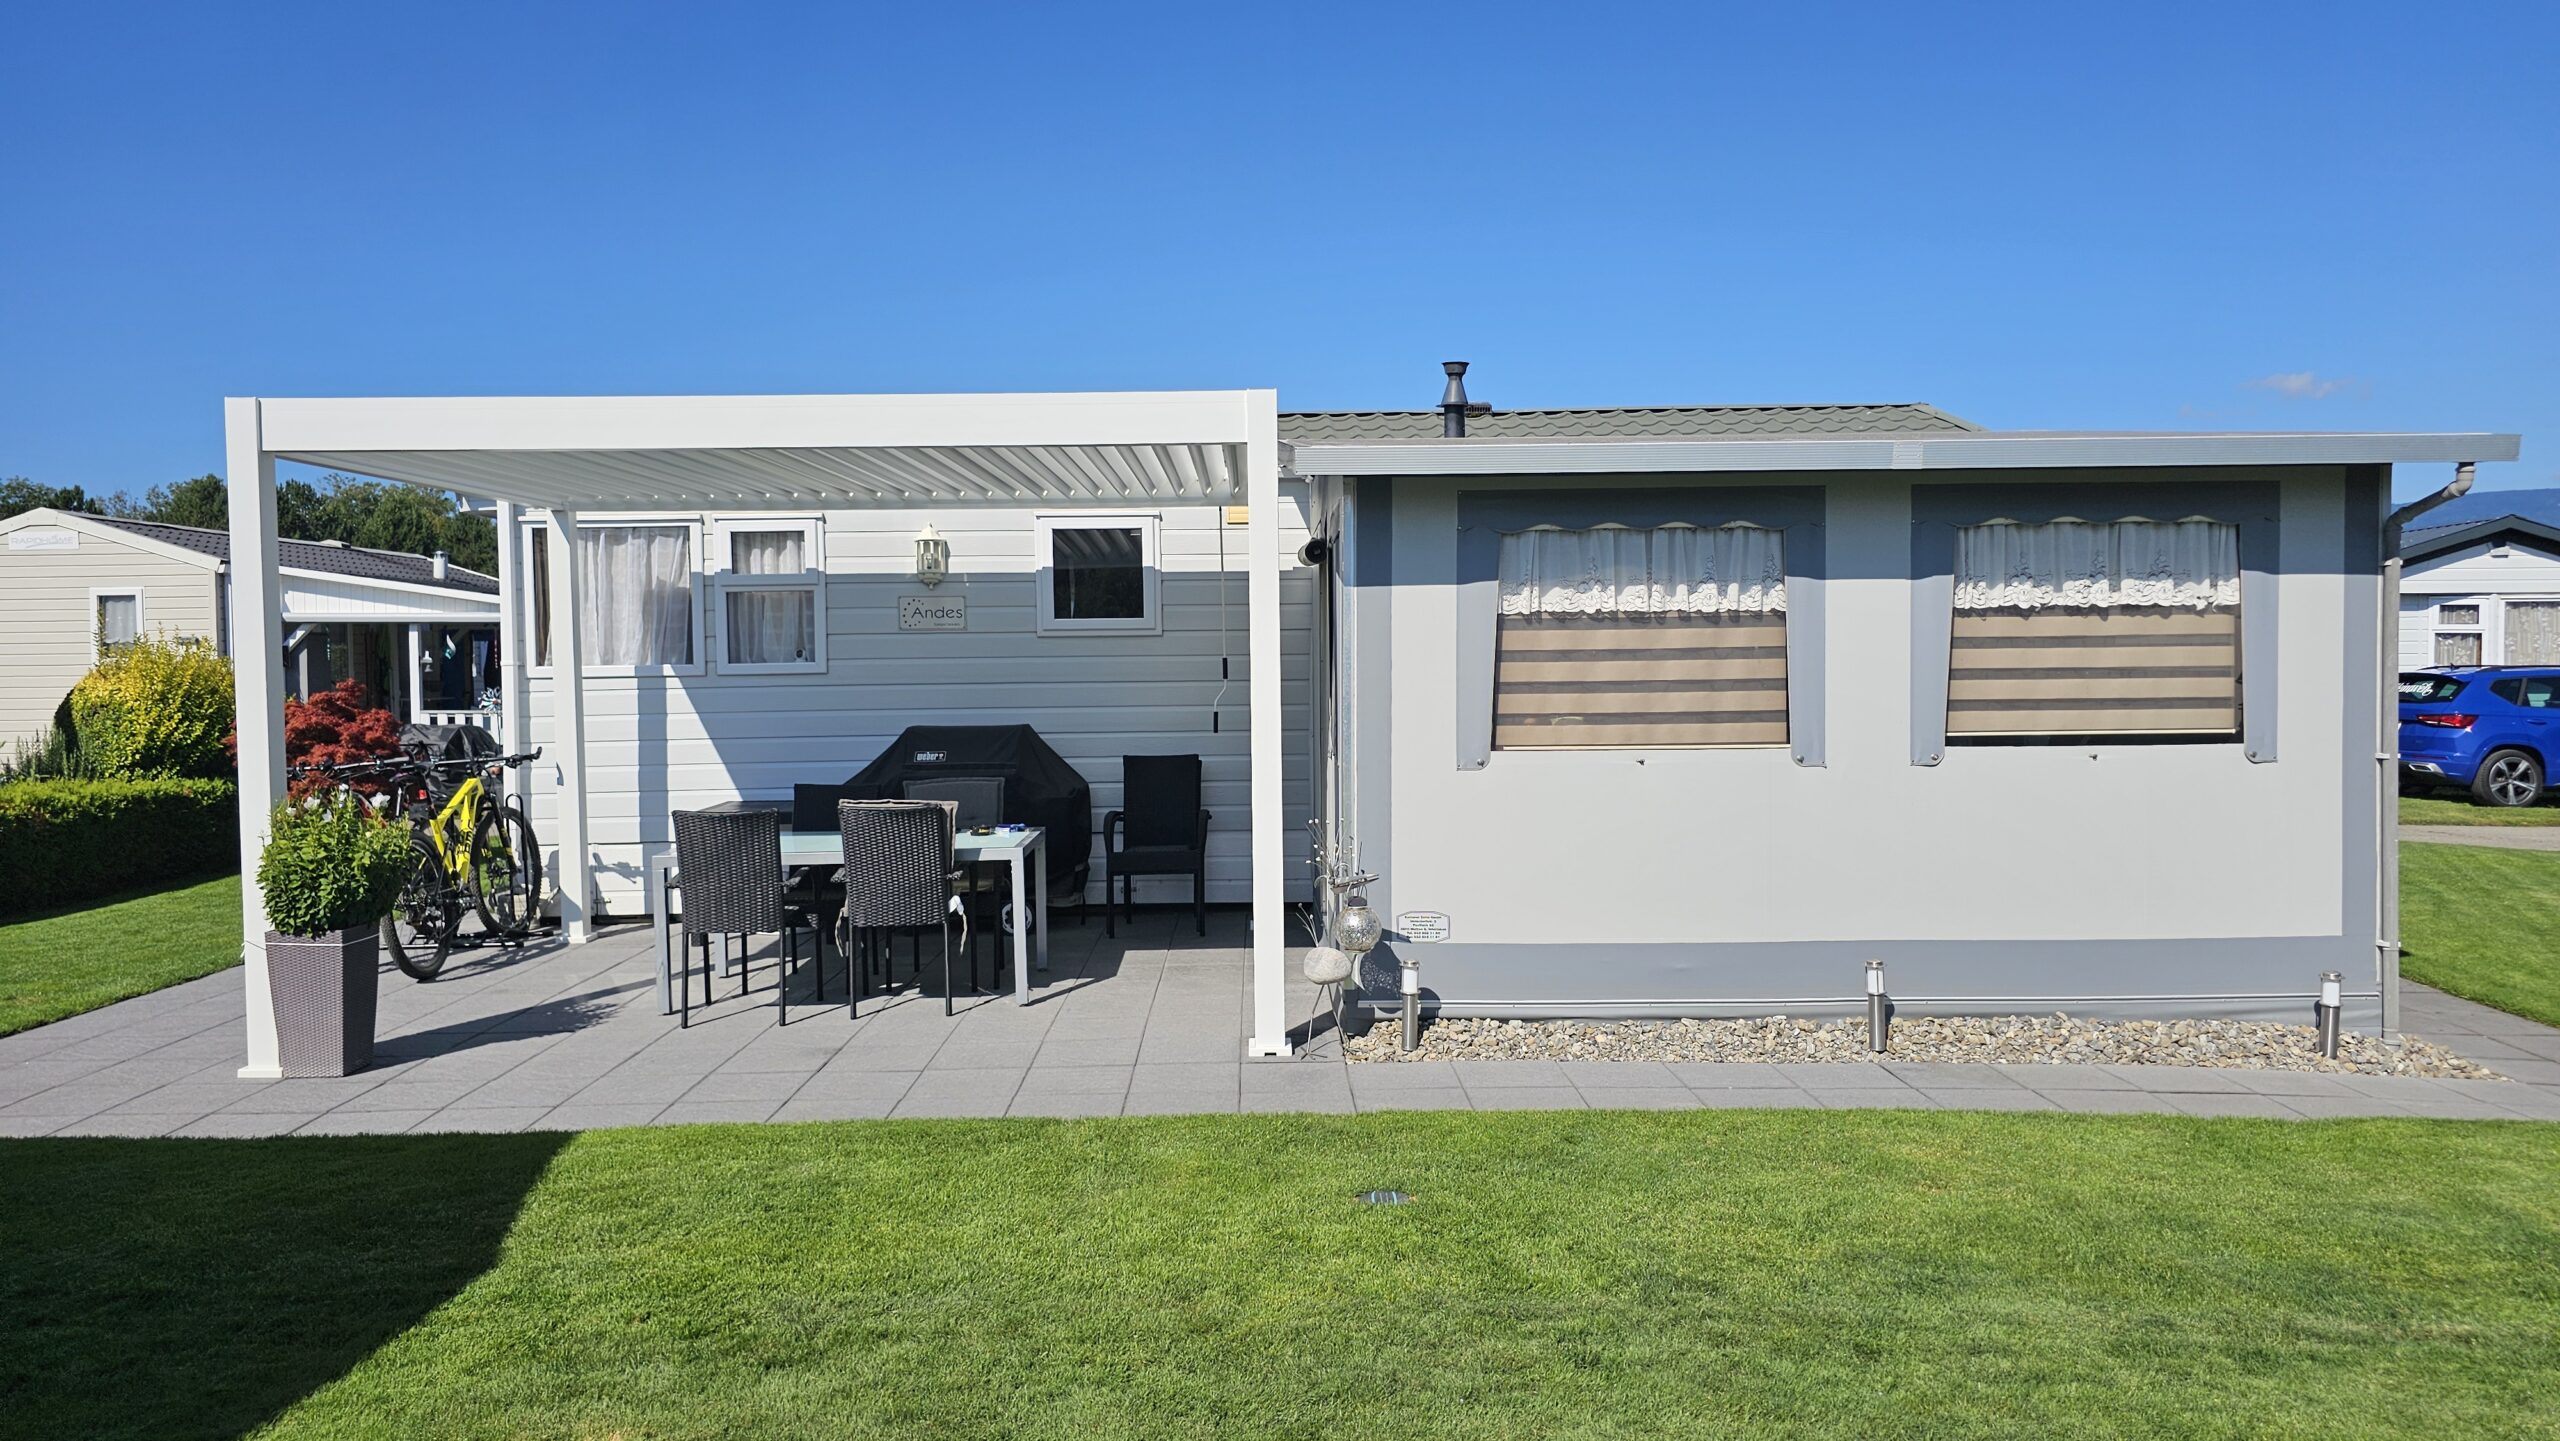
Clean optics without visible concrete foundations.
3. Step-by-step instructions
Step 1: Pour the pad foundation
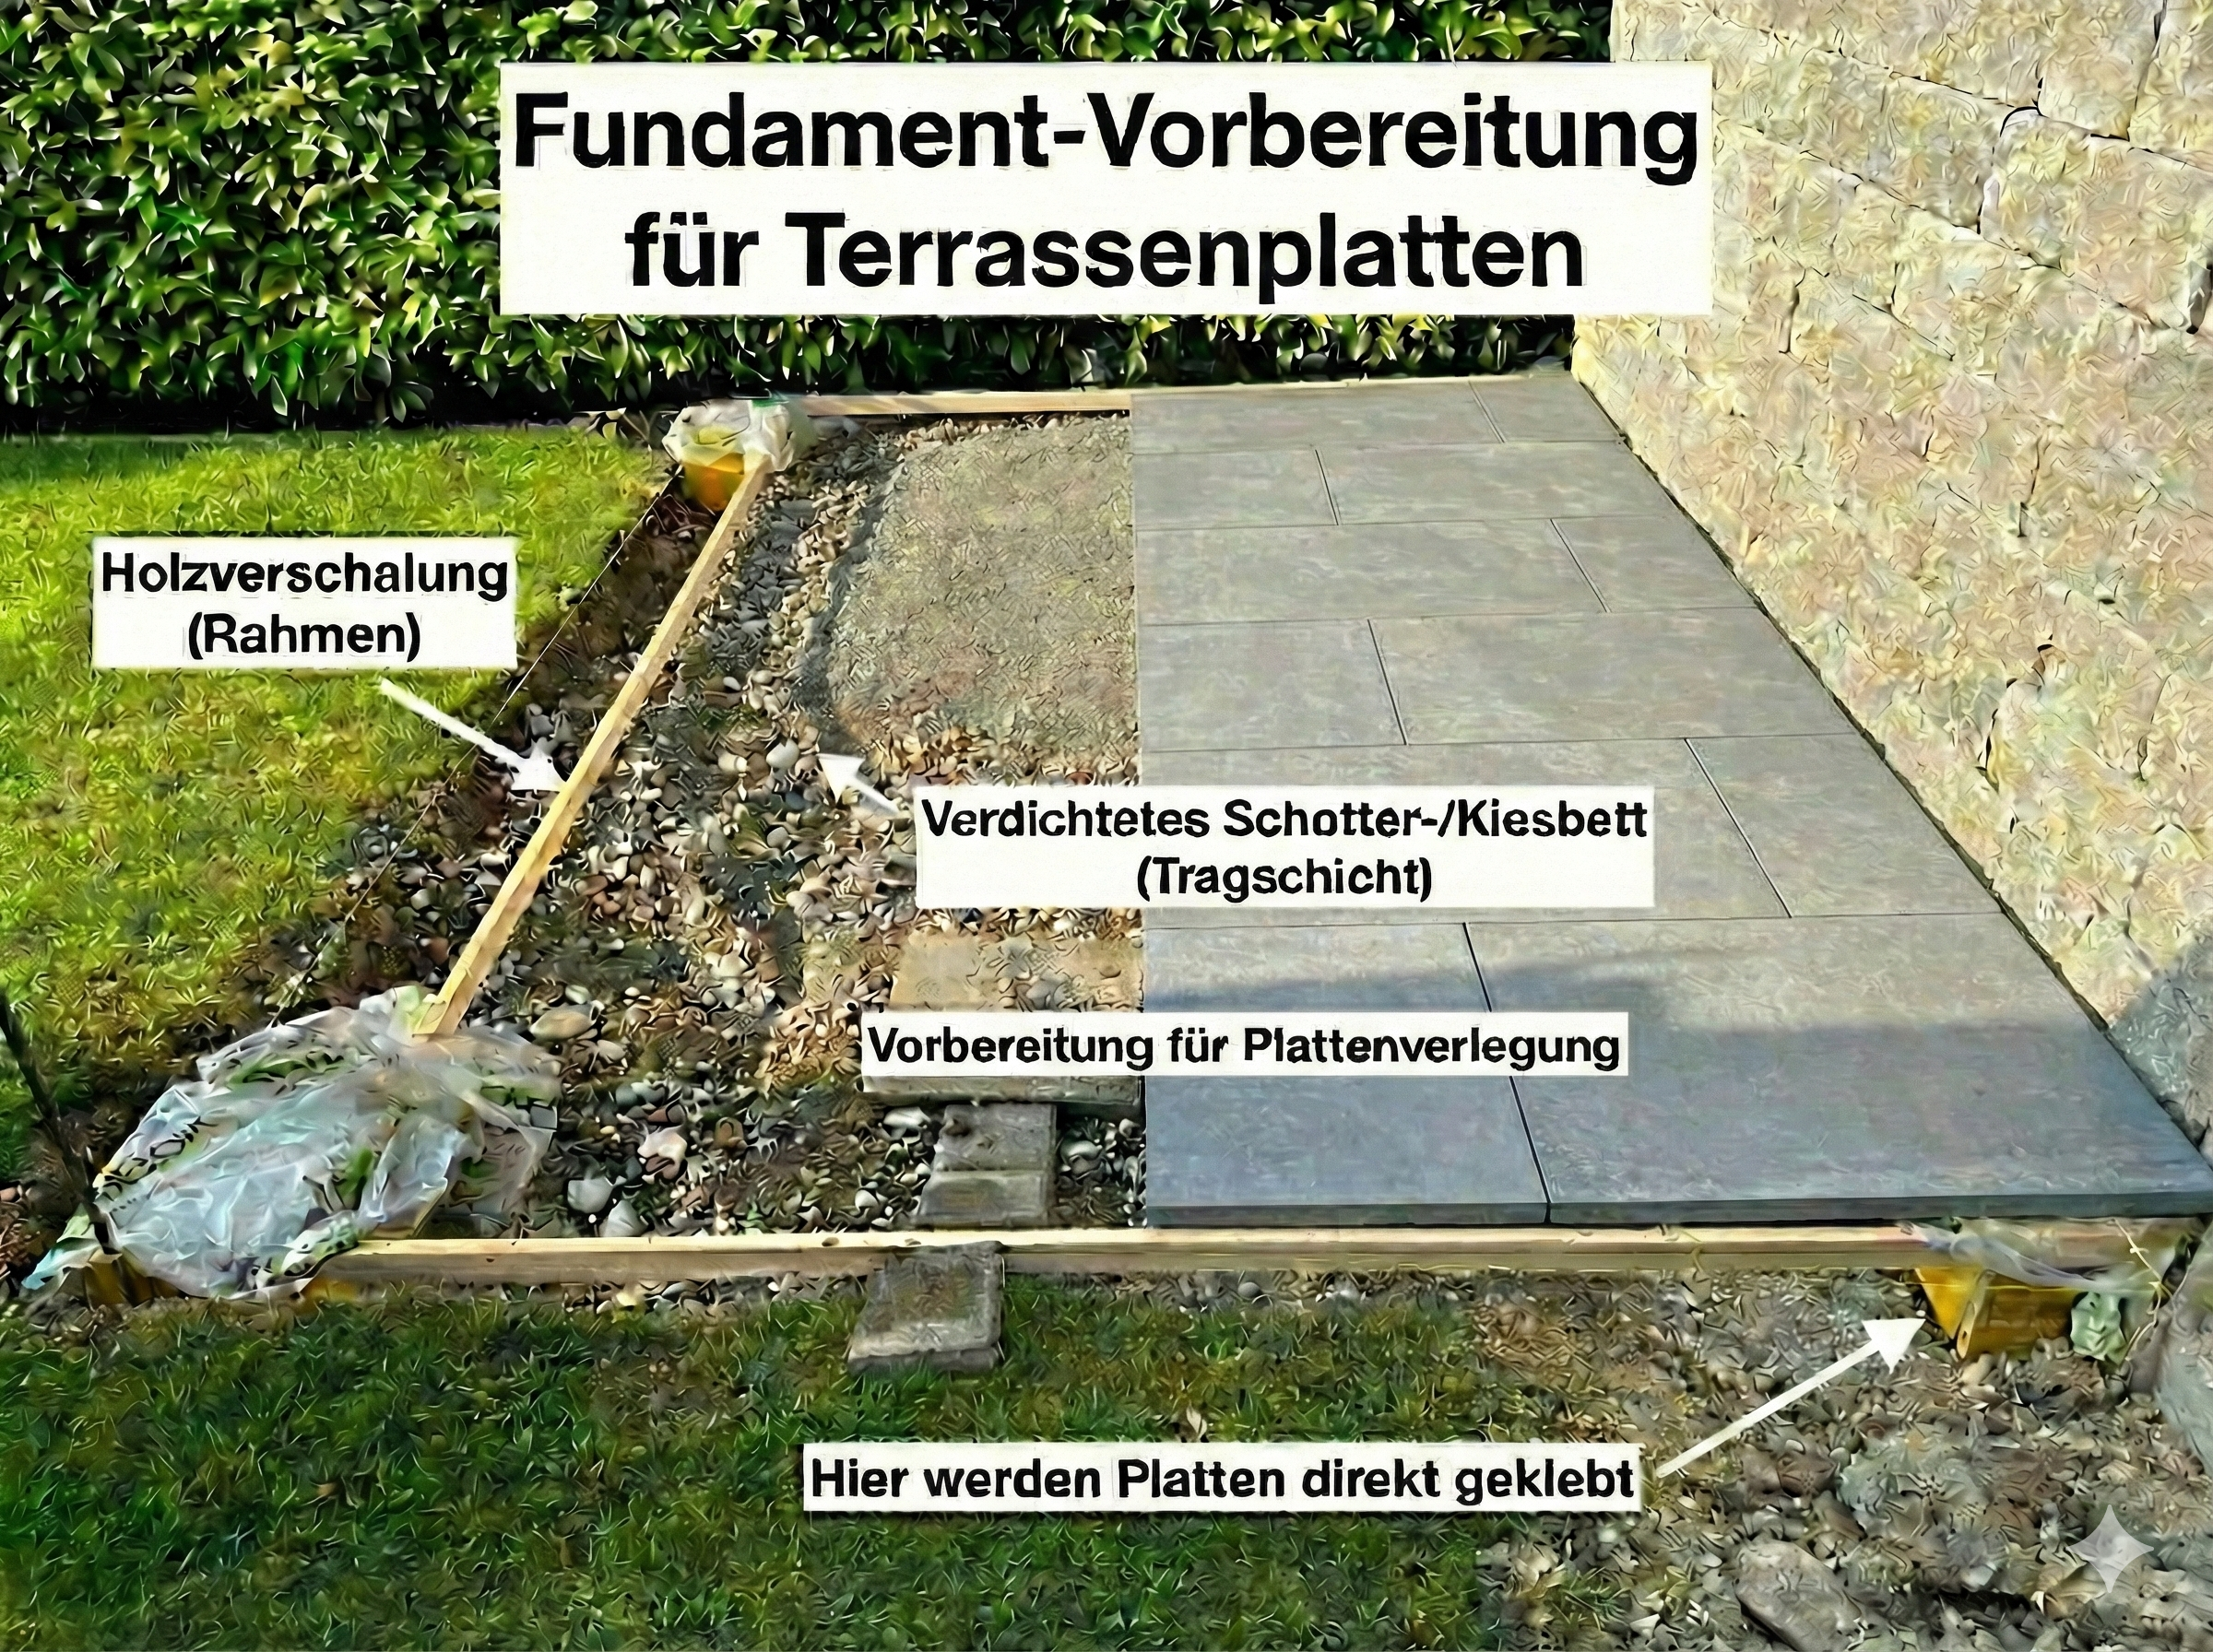
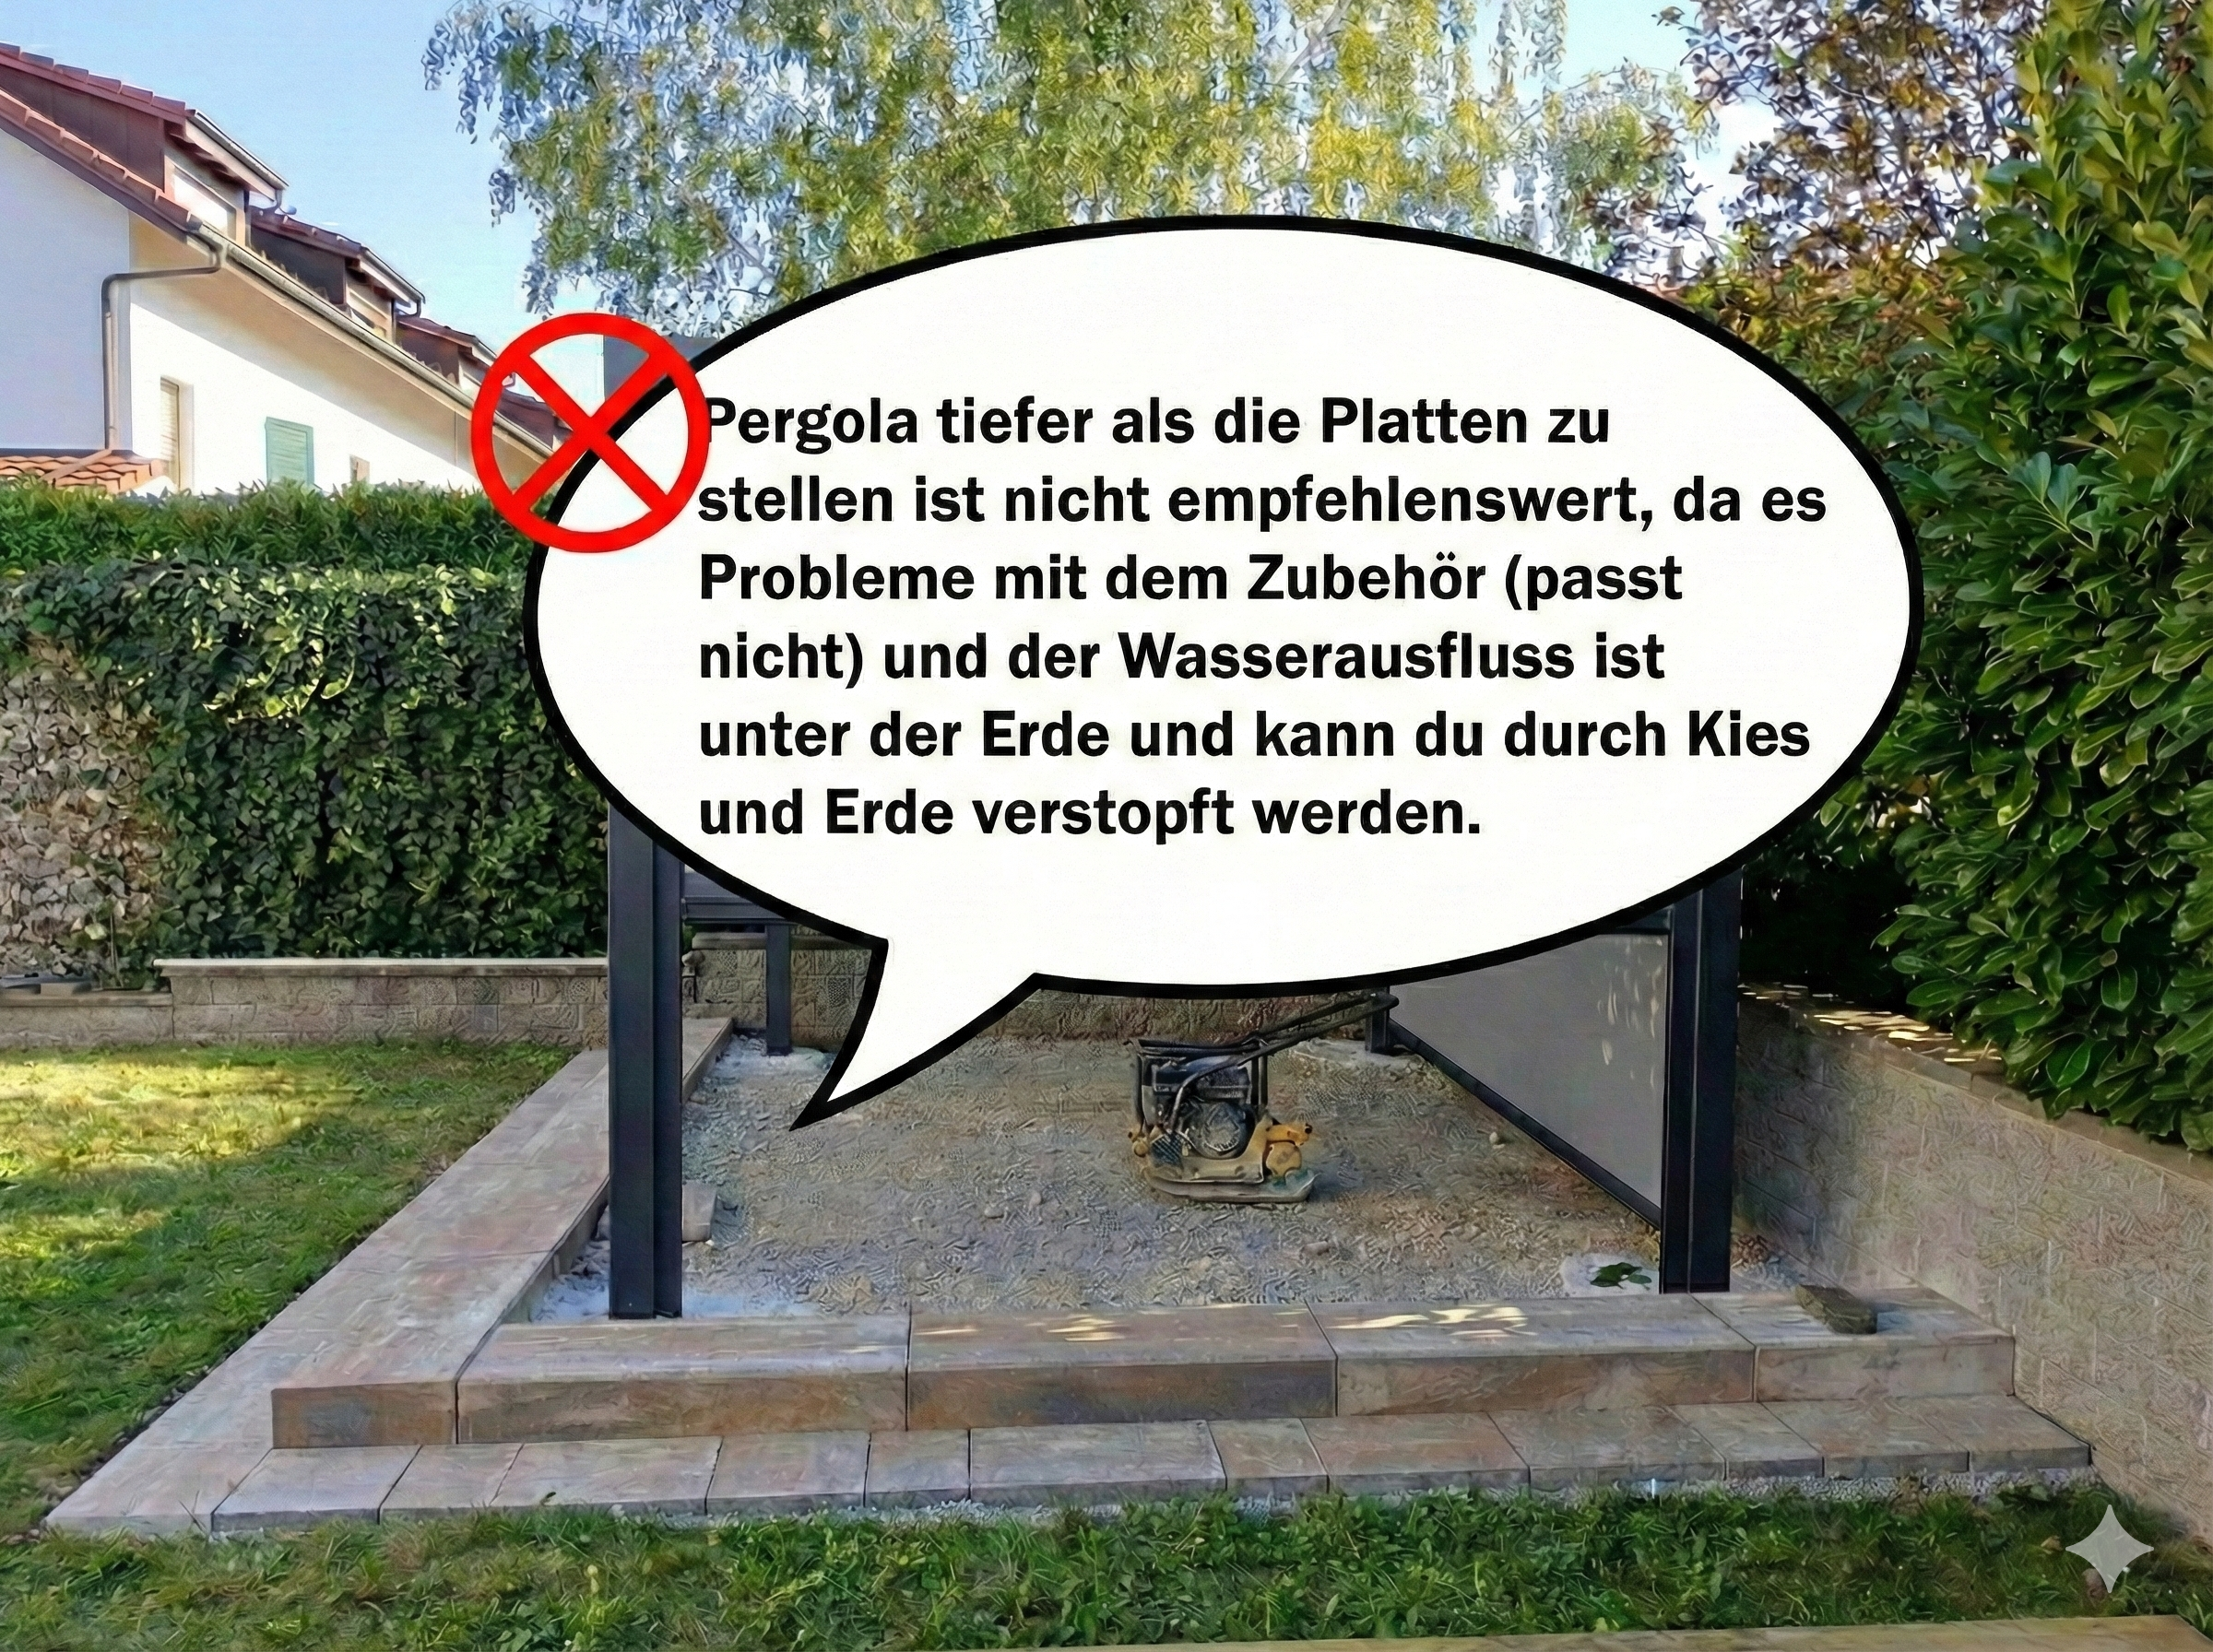
Dig the holes at the post positions (60 cm deep). Fill them with concrete, but stop approximately. 5–6 cm below the top edge your remaining terrace area (include slab thickness + adhesive layer!). Let the concrete cure for at least 48 hours.
Step 2: Properly glue the plate
Clean the concrete surface. Use a high-quality, frost-resistant Flexible or medium-bed mortar.
Step 3: Precision drilling through ceramic or stone
Once the glue is dry, position the pergola feet as a template.
-
For porcelain stoneware: Use a Diamond drill bit. Drill at high speed, but without a beat, and cool the drill bit with some water.
-
In concrete: Once you've gone through the plate, switch to a hammer drill for the deep hole in the concrete foundation.
Step 4: Chemical Anchoring (Injection Mortar)
Thoroughly clean the borehole of dust. Fill it with 2-component injection mortar (e.g., from Fischer or Hilti) and turn the Stainless steel threaded rods in. After curing, you can securely screw the pergola feet in place.
4. Legal Matters in Switzerland
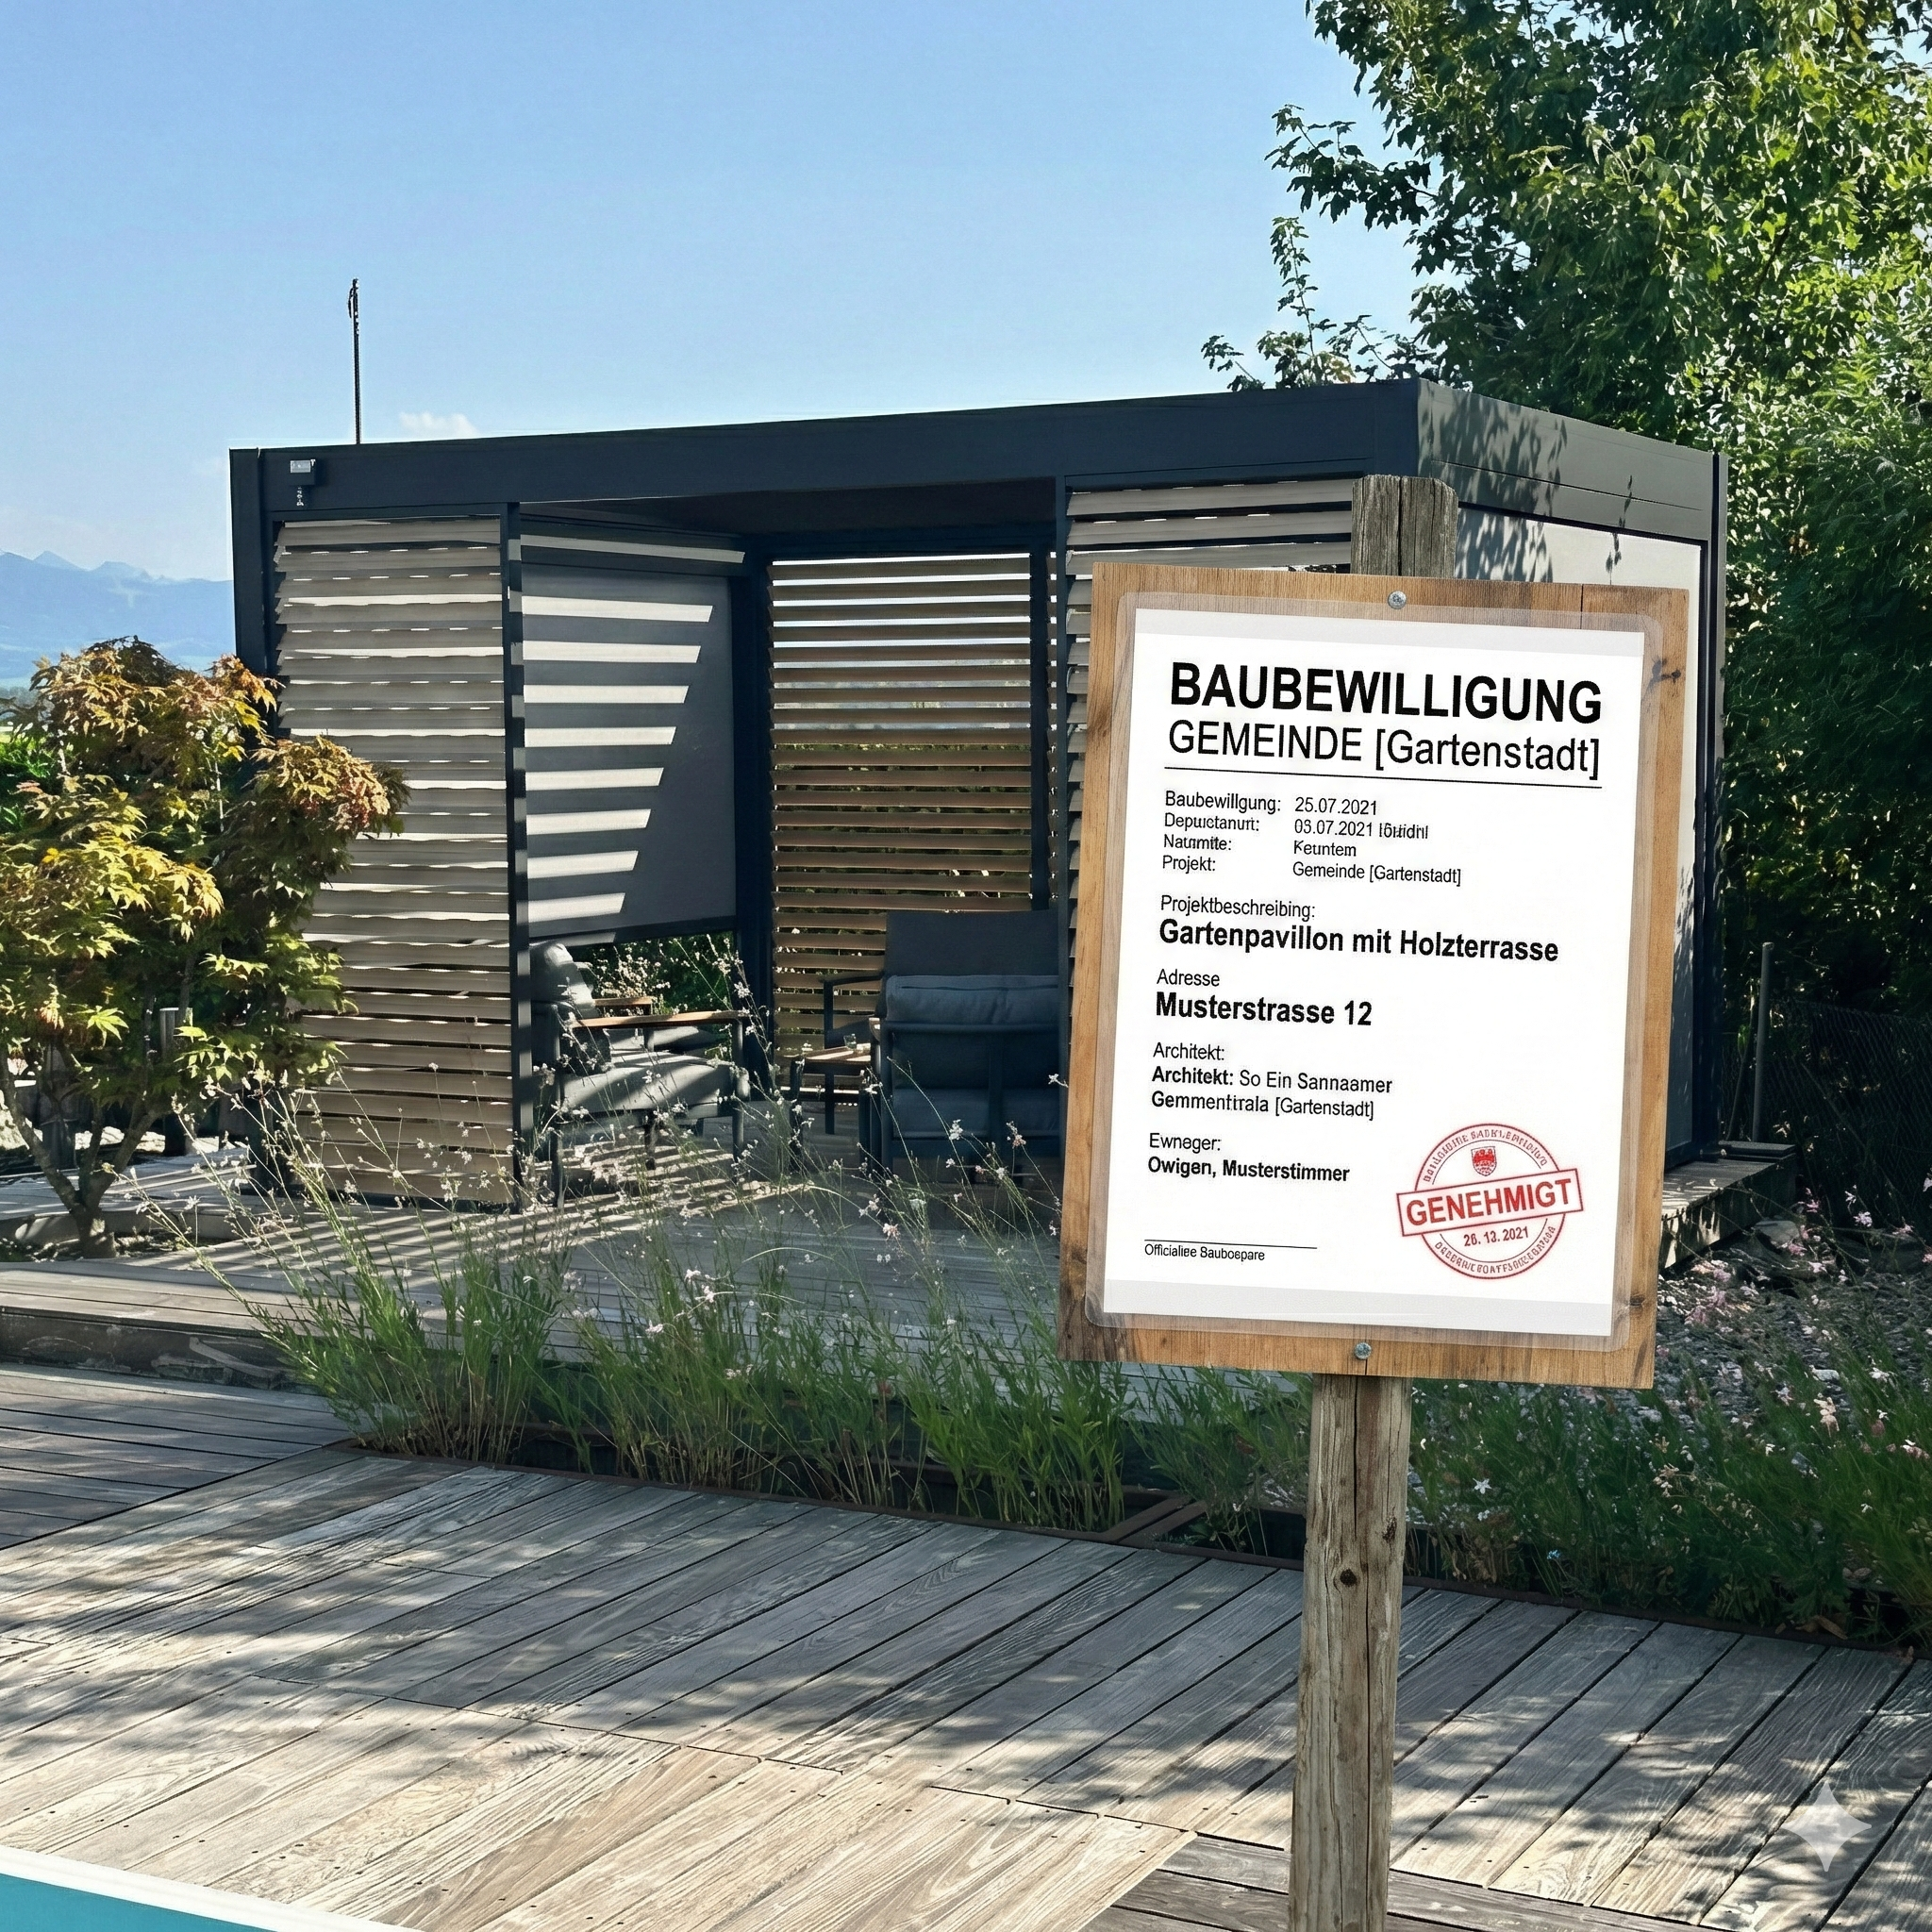
Before you start: In many Swiss municipalities, a pergola of a certain size requires a permit. Also check the cantonal Setback distances to the neighboring property. A quick look at the local building code saves expensive demolition.
Conclusion: Swiss precision pays off
A pergola foundation that sits 60 cm deep and has pavers directly glued to it is the gold standard in landscaping. It not only looks professional but can also withstand the strongest Swiss storms.